Fork and Deploy to GitHub Pages
The standard fork or remote-theme workflow — get a customized Zer0-Mistakes site live on GitHub Pages in about fifteen minutes, with verification steps.
Table of Contents
Fork & Deploy to GitHub Pages
What you’ll do: stand up a Zer0-Mistakes site you own and publish it to GitHub Pages, choosing between the low-maintenance remote theme model and the full-control fork model.
Prerequisites
- A GitHub account and Git installed locally.
- Basic familiarity with editing YAML and Markdown.
- Optional but recommended: Docker, for the local preview loop.
Step 1 — Choose remote theme or fork
| Model | You commit | You can edit | Upgrades |
|---|---|---|---|
| Remote theme | Content + config only | Your pages and config | Automatic (theme pulled at build time) |
| Fork | The whole theme | Layouts, includes, SCSS, content | Manual (merge upstream changes) |
Pick remote theme if you mostly want to write content. Pick fork if you intend to change how the theme looks or behaves.
Step 2a — Remote theme setup
Create a new repository and add three files. Your _config.yml declares the
theme and the one required plugin:
# _config.yml
remote_theme: "bamr87/zer0-mistakes"
plugins:
  - jekyll-include-cache
Add a Gemfile so GitHub Pages resolves dependencies:
# Gemfile
source "https://rubygems.org"
gem "github-pages", group: :jekyll_plugins
gem "jekyll-include-cache"
Add an index.md with front matter so you have a home page, then commit. The
Bare-Minimum Starter covers this minimal file
set in more detail.
Step 2b — Fork setup
On the theme repository, use Fork to copy it into your account, then clone your fork:
git clone https://github.com/<your-username>/<your-repo>.git
cd <your-repo>
Run the installer to reset the config to your own identity and scaffold the content directories:
./install.sh
Step 3 — Preview locally
The recommended loop uses Docker so your environment matches CI:
docker-compose up
Open http://localhost:4000 to see your site. Without Docker, use
bundle install then bundle exec jekyll serve. The docs render with a
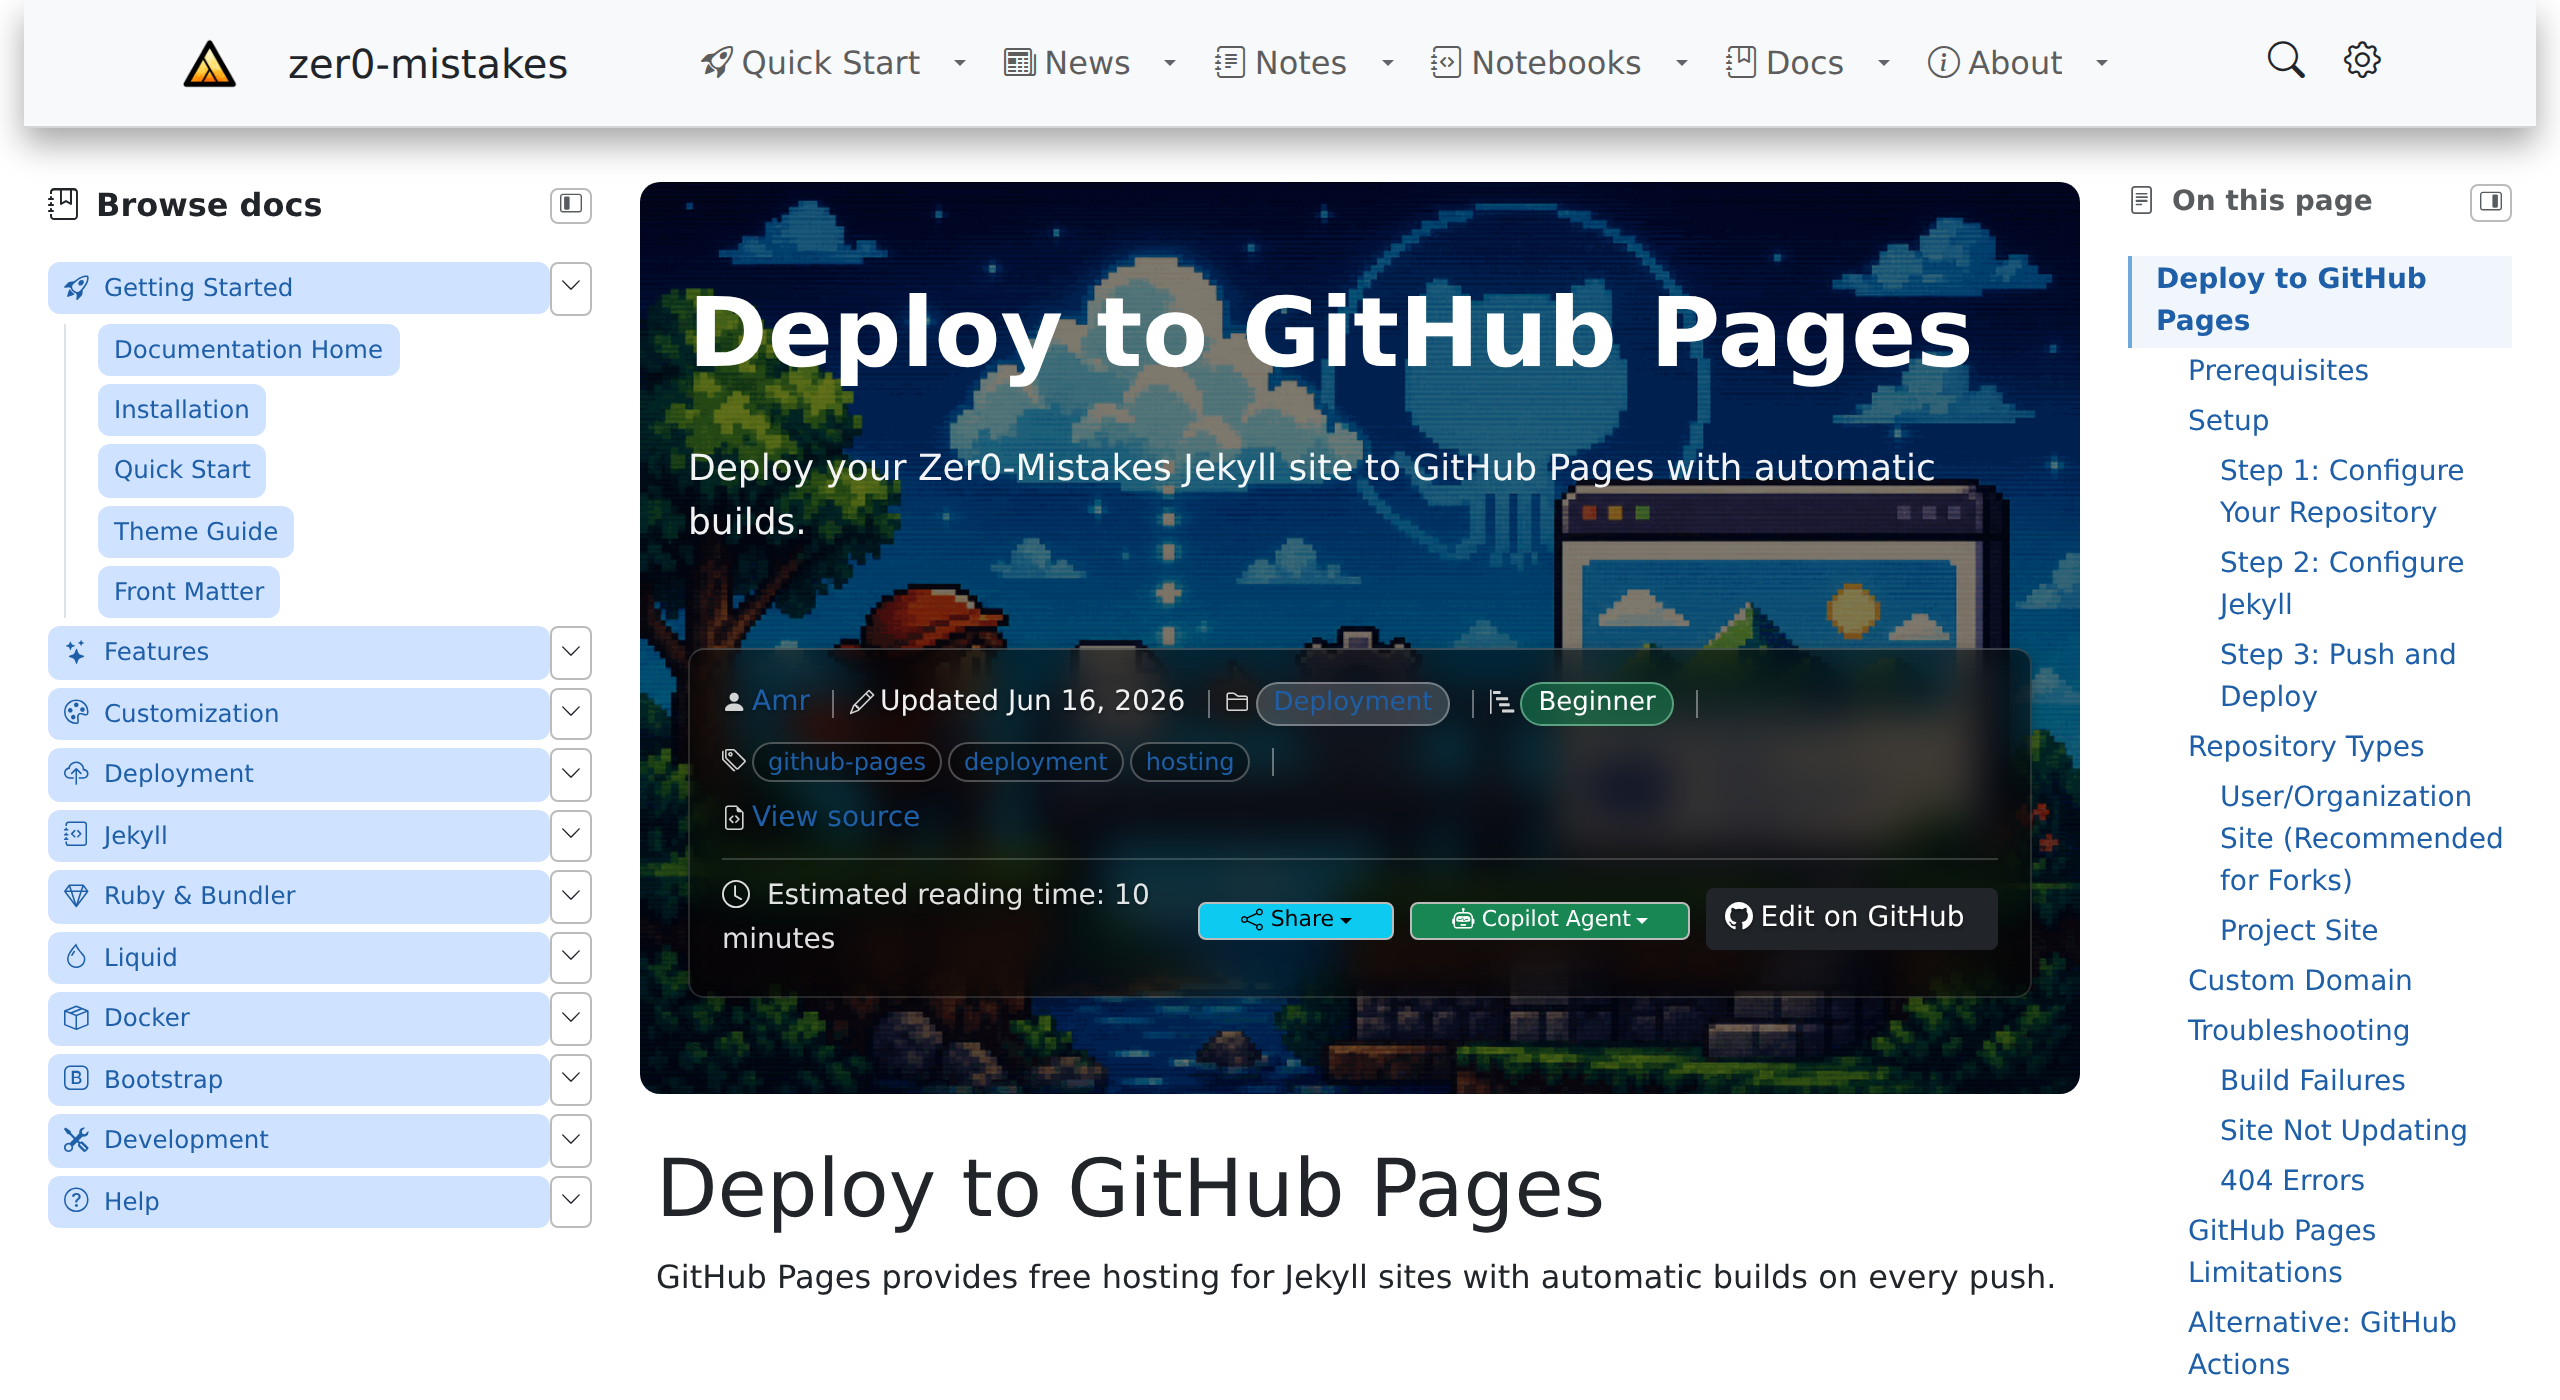
left navigation tree and an “On this page” table of contents:
Step 4 — Enable GitHub Pages
- Push your repository to GitHub.
- Open Settings → Pages.
- Under Build and deployment → Source, choose Deploy from a branch.
- Select your
mainbranch and the/ (root)folder, then Save.
GitHub builds and publishes the site automatically on every push. The Deploy to GitHub Pages reference covers custom domains and the GitHub Actions alternative.
Step 5 — Verify
- Your site loads at
https://<your-username>.github.io/<your-repo>/. - The navbar, footer, and home page render with your content.
- Editing a page and pushing triggers a new deploy within a minute or two.
Troubleshooting
- Build fails on
Unknown tag 'include_cached'— addjekyll-include-cacheto yourplugins:(Step 2a). - Styles or layouts look unset — for the remote-theme model, re-declare your
collections,defaults, andpermalinkin your own_config.yml; they are not inherited from the theme. - Pages 404 that you didn’t create — plugin-generated pages (author profiles, search, sitemap) are skipped by GitHub Pages safe mode; see the Deploy to GitHub Pages guide.
Next steps
- Customize colors and layout with the Theme Guide.
- Follow the step-by-step Quick Start series for machine and Jekyll setup details.