Site Personalization & Configuration
Customize your Jekyll site with interactive forms. Configure site identity, branding, analytics, social links, and generate your complete _config.yml.
Table of Contents
Site Personalization & Configuration
After completing the Quick Start installation, use this guide to personalize your Jekyll site. Fill out the interactive forms below to generate your custom _config.yml settings.
Prefer a live UI? The Theme Customizer lets you preview skin and color changes in real time directly on your running site.
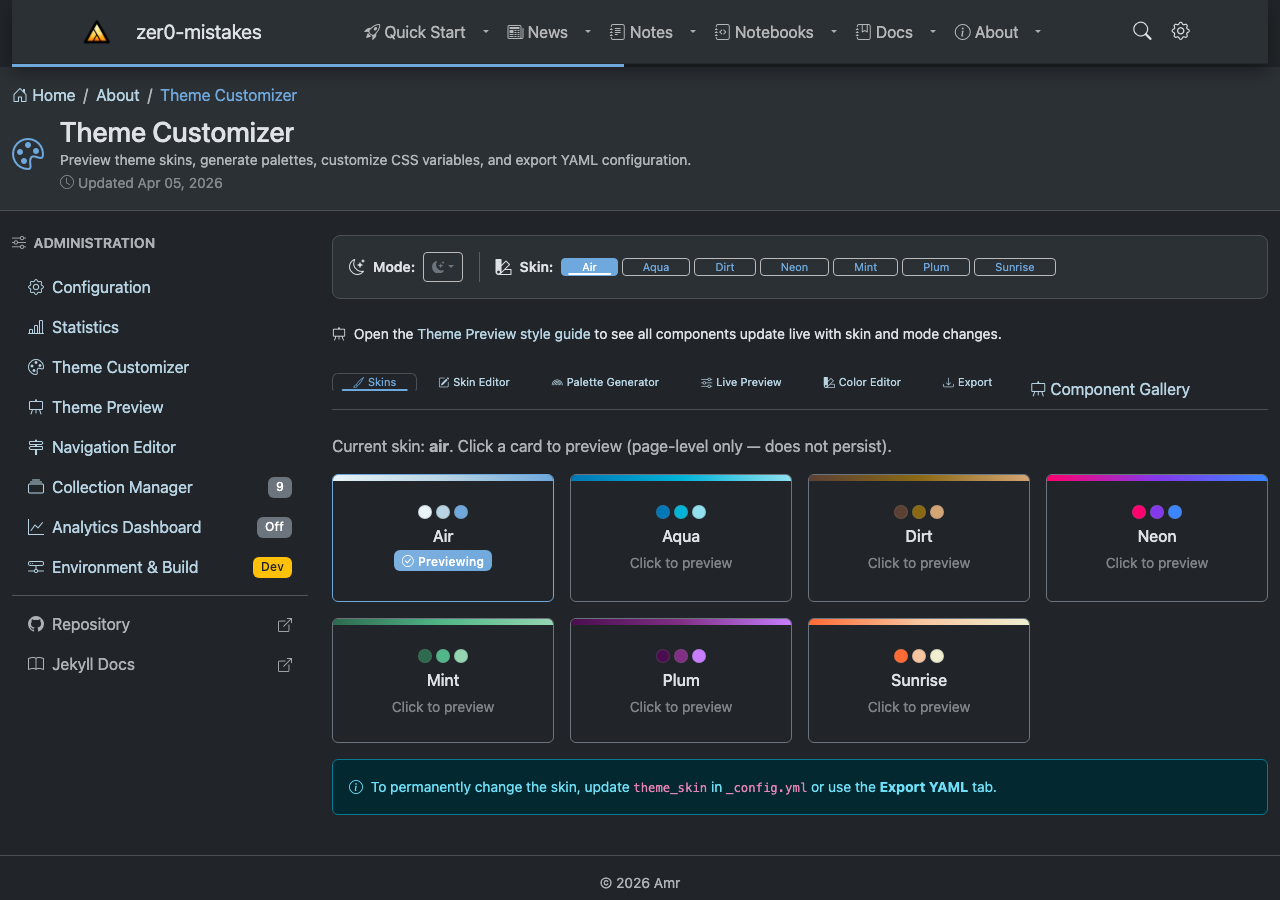
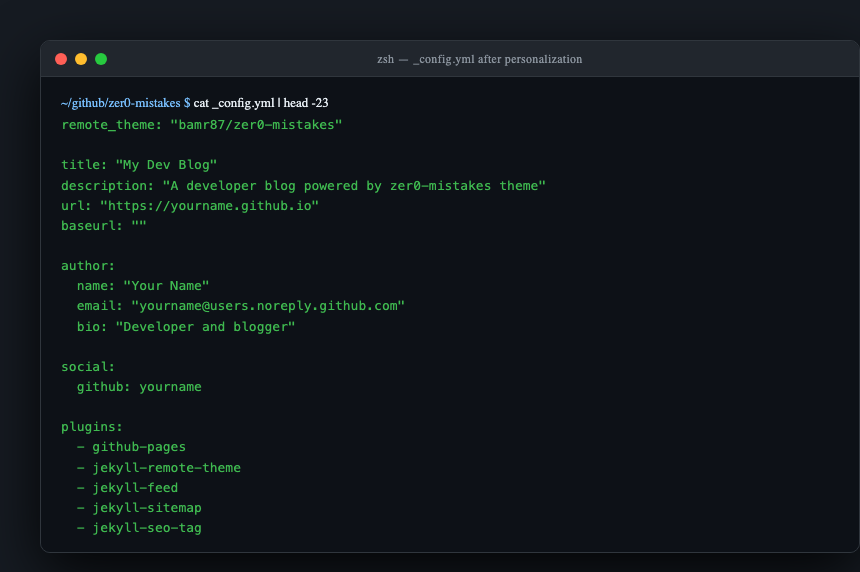
Fill out the forms in each section. Your settings will be automatically saved and combined into a complete _config.yml at the bottom of the page. Copy and paste to customize your site!
This page is an interactive generator and needs JavaScript. With it disabled, use the Site Builder, which produces the same
_config.ymland can write the whole project for you.
Configuration Sections
Site Identity
Configure the basic information that identifies your site across the web.
Owner Information
Configure your personal or organization identity.
Social Links
Connect your social profiles and external accounts.
Appearance & Branding
Customize the look and feel of your site.
Analytics & Tracking
Set up privacy-friendly analytics to understand your audience.
Advanced Settings
Configure advanced features like comments, plugins, and build settings.
Generated Configuration
# Loading configuration...- Copy the generated configuration above
- Paste it into your
_config.ymlfile - Restart your Jekyll server:
docker compose restart - View your personalized site at
http://localhost:4000
Verify
Restart the dev server so Jekyll reloads the configuration, then confirm the values you entered actually took effect:
docker compose restart
- The browser tab and navbar show your Site Title.
/about/shows your author name and email.- If you set a skin, the page colors change; if nothing changes, check that
theme_skinis one of the seven names listed above.
You’re All Set
Congratulations on completing the Quick Start guide! Your site is now:
- ✅ Running locally with Docker
- ✅ Connected to GitHub for version control
- ✅ Personalized with your branding
- ✅ Ready for deployment to GitHub Pages
What’s Next?
- Create content - Add blog posts in
pages/_posts/ - Customize layouts - Modify templates in
_layouts/and_includes/ - Deploy to production - Push to GitHub and enable GitHub Pages
- Explore the docs - Check out the full documentation
Quick Start Guide Summary
| Step | Guide | Description |
|---|---|---|
| 1 | Machine Setup | Install Docker, Git, and development tools |
| 2 | Jekyll Setup | Start development server and create content |
| 3 | GitHub Setup | Version control and GitHub Pages deployment |
| 4 | Personalization | Customize site identity and configuration |