Configuration de la machine
Installez Docker, Git et les outils de développement essentiels pour le thème Jekyll Zer0-Mistakes. Configuration multiplateforme pour macOS, Windows et Linux.
Table des matières
Configuration de la machine
Installez les outils dont vous avez besoin avant de commencer le développement Jekyll. Ce guide couvre macOS, Windows et Linux.
flowchart LR
    A([Start]) --> B[Install Docker Desktop]
    B --> C[Install Git]
    C --> D[Configure Git]
    D --> E[Install GitHub CLI]
    E --> F[Authenticate gh]
    F --> G([Ready for Jekyll Setup])
Prérequis en un coup d’œil
| Outil | macOS | Windows | Linux | Requis ? |
|---|---|---|---|---|
| Docker Desktop | brew install --cask docker |
winget install Docker.DockerDesktop |
get.docker.com | Oui |
| Git | brew install git |
winget install Git.Git |
apt install git |
Oui |
| GitHub CLI | brew install gh |
winget install GitHub.cli |
pkg install | Oui |
| VS Code | brew install --cask visual-studio-code |
winget install Microsoft.VisualStudioCode |
snap install code --classic |
Recommandé |
Étape 1 — Installer Docker Desktop
Docker exécute votre site Jekyll dans un conteneur isolé afin que vous n’ayez jamais à gérer les conflits de versions de Ruby.
macOS (Homebrew)
brew install --cask docker
# Then open Docker.app to complete setup
open /Applications/Docker.app
Windows (Winget)
winget install Docker.DockerDesktop
# Restart, then launch Docker Desktop from the Start menu
Linux
curl -fsSL https://get.docker.com | sh
sudo usermod -aG docker $USER
newgrp docker          # apply group without logging out
Vérifiez :
docker --version && docker compose version
Étape 2 — Installer Git
macOS
brew install git
Windows
winget install Git.Git
Linux
sudo apt install git       # Debian/Ubuntu
sudo dnf install git       # Fedora/RHEL
Étape 3 — Configurer Git
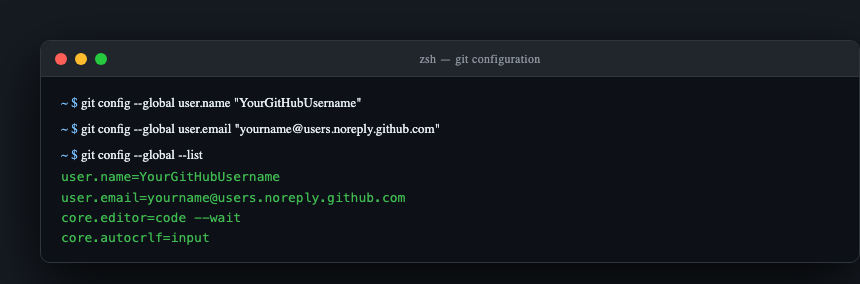
Remplacez les valeurs ci-dessous par votre véritable nom d’utilisateur GitHub et l’adresse e-mail no-reply issue de github.com/settings/emails :
git config --global user.name "YourGitHubUsername"
git config --global user.email "ID+username@users.noreply.github.com"
git config --global core.editor "code --wait"
Vérifiez :
git config --global --list
Étape 4 — Installer GitHub CLI
macOS
brew install gh
Windows
winget install GitHub.cli
Linux
sudo apt install gh        # Debian/Ubuntu (after adding the gh apt repo)
# Full instructions: https://cli.github.com/manual/installation
Authentifiez-vous :
gh auth login
# Choose: GitHub.com → HTTPS → Login with a web browser
# Copy the one-time code shown, press Enter, paste in the browser
Étape 5 — Installer VS Code (recommandé)
macOS
brew install --cask visual-studio-code
Windows
winget install Microsoft.VisualStudioCode
Linux
sudo snap install code --classic
Extensions utiles pour le travail avec Jekyll :
code --install-extension redhat.vscode-yaml
code --install-extension yzhang.markdown-all-in-one
code --install-extension sissel.shopify-liquid
code --install-extension ms-vscode-remote.remote-containers
code --install-extension ms-azuretools.vscode-docker
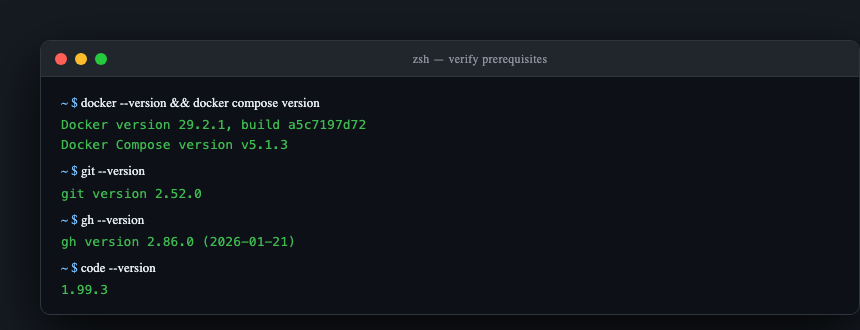
Tout vérifier
docker --version && docker compose version
git --version
gh --version
code --version
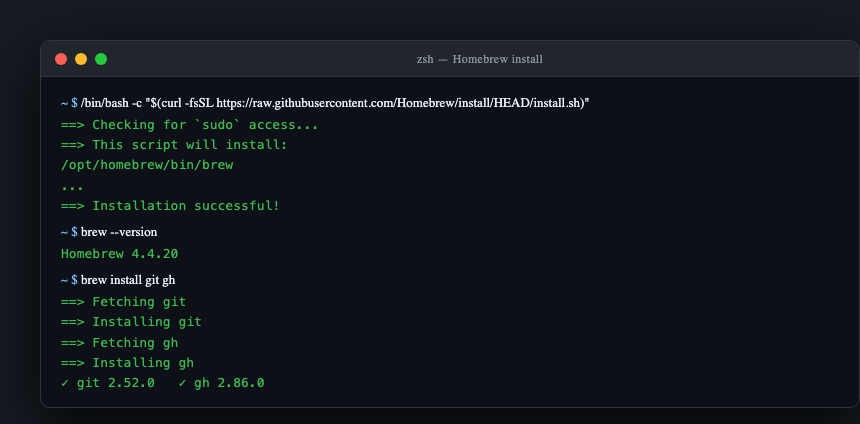
macOS : installer tous les outils avec Homebrew
Si vous êtes sous macOS et que vous n’avez pas encore Homebrew, installez-le d’abord :
/bin/bash -c "$(curl -fsSL https://raw.githubusercontent.com/Homebrew/install/HEAD/install.sh)"
Puis installez tout d’un seul coup :
brew install git gh
brew install --cask docker visual-studio-code
Dépannage
Docker : permission refusée (Linux)
sudo usermod -aG docker $USER && newgrp docker
Docker Desktop ne démarre pas (Windows)
Assurez-vous que Hyper-V ou WSL 2 est activé. Exécutez wsl --install dans un PowerShell avec privilèges élevés, puis redémarrez.
Le port 4000 est déjà utilisé
lsof -i :4000          # find the PID
kill <PID>             # free the port